How to fly, glide and land
Hold the flight input to leave the ground, aim the camera where you want to go, and trade height for speed on long crossings; approach a perch from below and level out before you touch down.
Flight in Broodwing is not a separate mode you unlock; it is what the adult bird does with the same movement controls you used on the ground. That is the single most useful thing to understand before you try to cross the valley. You do not press a "fly" button and then steer a vehicle - you point the bird and the bird goes.
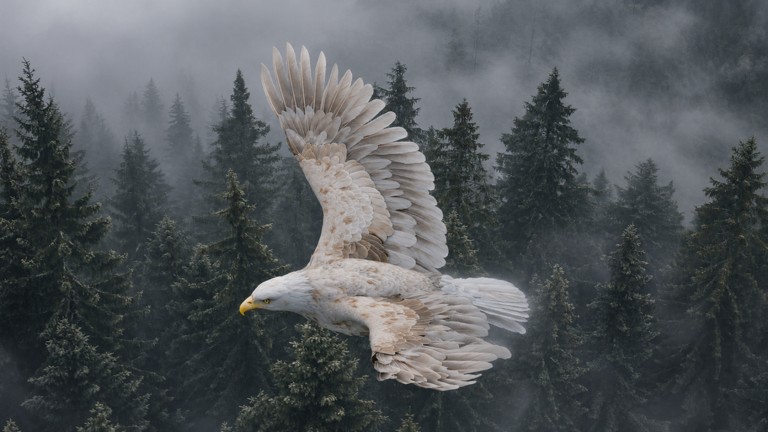
Takeoff: getting off the ground
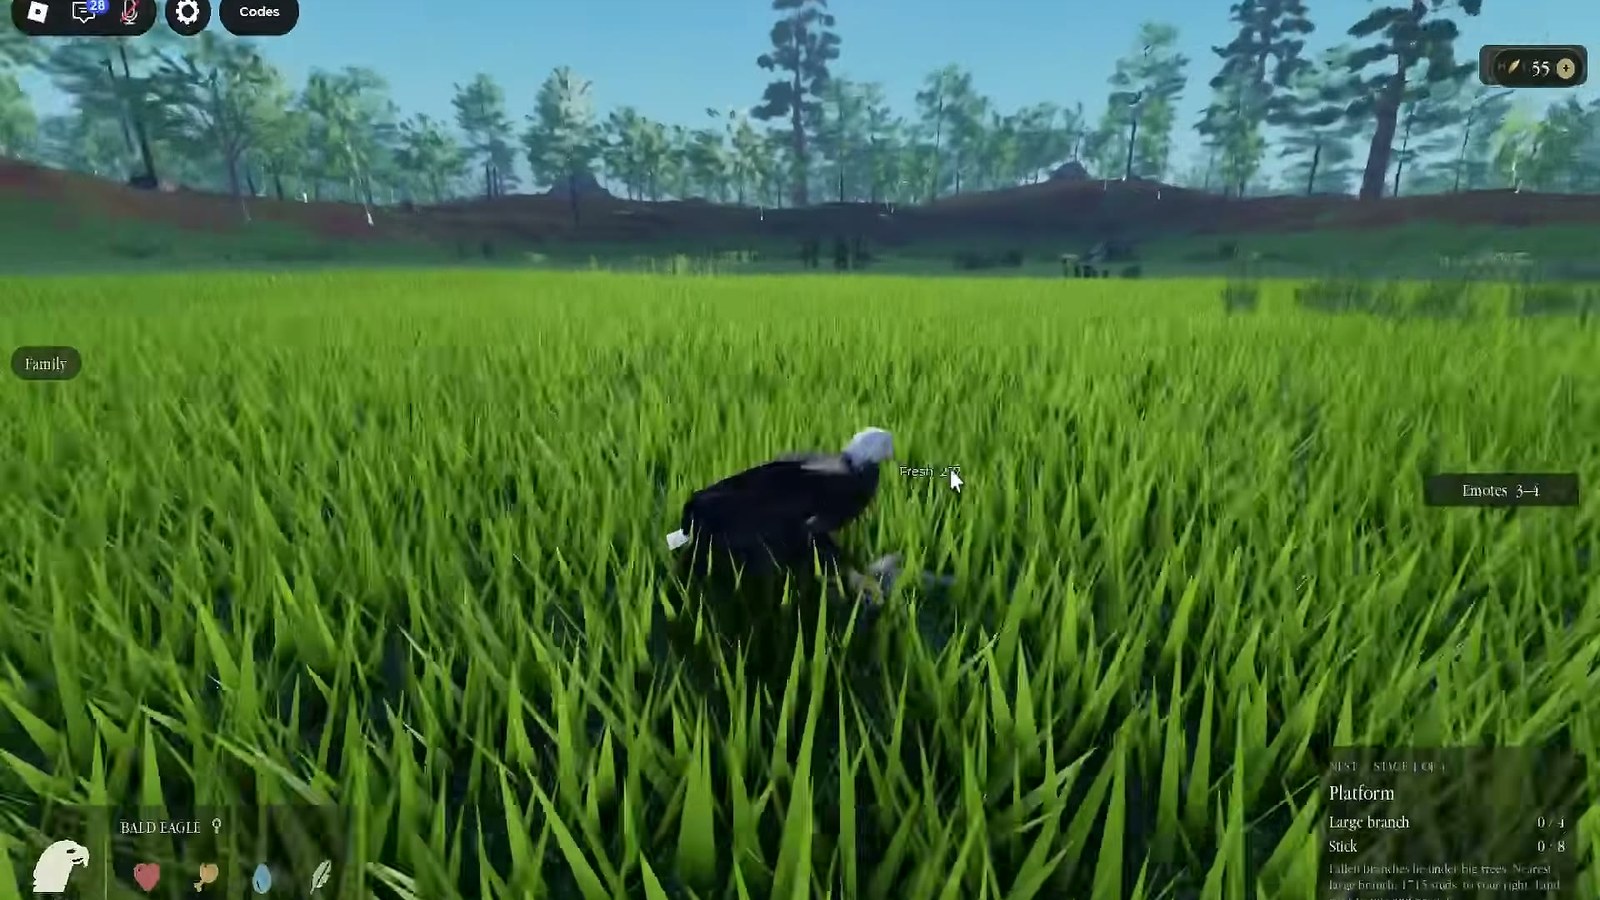
A grounded bird needs height before it can glide. The reliable pattern is to get to the highest thing you can reach - a nest, a rock, a low branch - and launch from there rather than trying to climb out of flat grass. From a standing start on flat ground you get a short hop, and a short hop over water is how players end up swimming.
Watch the wings, not the horizon. When the bird is climbing the wings beat hard and the body angles up; when it is gliding the wings are held wide and the body is level. If you are still beating after two seconds, you are climbing, not travelling, and you are burning height you will want later.
Gliding: how to actually cross the map
A glide trades altitude for distance. The bird keeps momentum when you stop pressing forward, so the correct technique on a long crossing is to climb first, then level out and let the valley pass underneath. Aim the camera at the far side of the valley, not at the ground in front of you: the camera sets your line, and a line pointed down ends in a dive.
| What you want | Bird posture | What to do |
|---|---|---|
| Cross open ground fast | Level wings, slight downward angle | Climb first, then hold the line and let the glide run |
| Gain height over trees | Body angled up, wings beating | Point the camera up and keep the climb short |
| Drop onto prey | Wings swept, steep angle | Aim down early and pull level just before the strike |
| Land on a nest | Wings wide, slow and level | Approach from below the nest and rise into it |
Gliding is also how you escape. A bird that is being chased in the canopy has nowhere to go; a bird that climbs above the canopy has the whole valley to run into. If you are losing a fight near the ground, the answer is almost always up, not sideways.
Landing: the part that kills new players
Landing is where most flight deaths happen, and the cause is nearly always the same: the player aims at the nest, arrives too fast, overshoots and ends up in the tree below it. The fix is to approach from underneath. Come in below the level of the nest, then rise the last few metres with short wing beats and let the bird settle.
Three habits that make landings reliable:
- Aim at a point below the target, not at the target. Overshooting upward is recoverable; overshooting downward is a fall.
- Slow down before the perch, not at it. A bird still gliding at full speed cannot stop on a branch.
- Practise on a wide ledge before you try a canopy fork. The ledge forgives a bad angle; the fork does not.
Crossing water
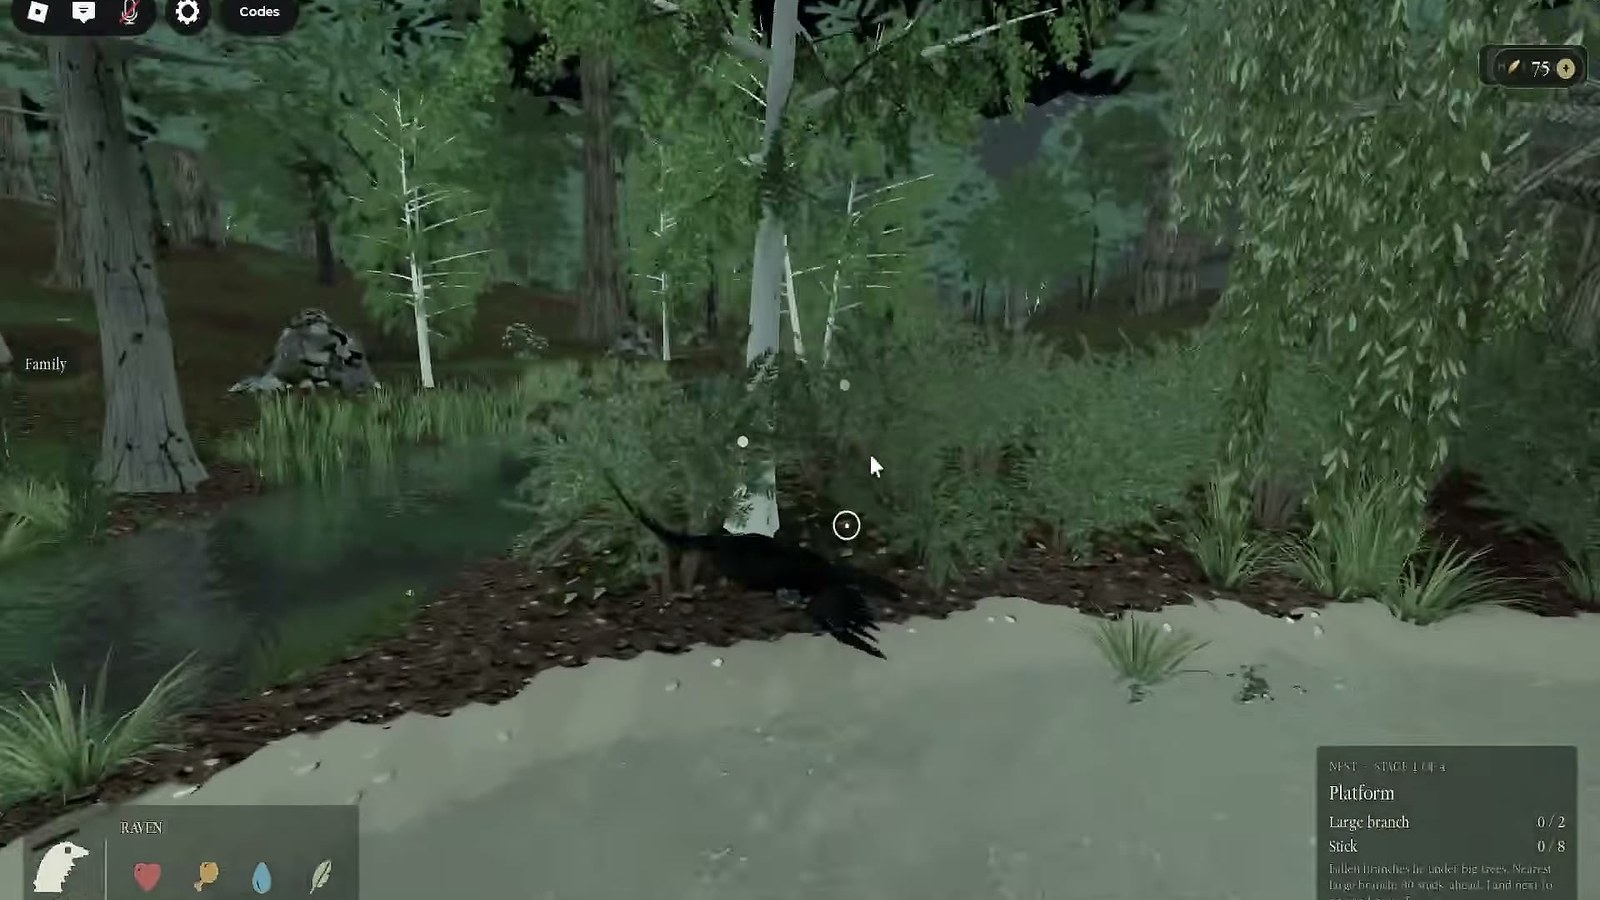
Water is the most dangerous terrain in the valley because a bird in the water is not flying. Cross at the narrowest point you can see, start from height rather than from the bank, and never cross with a full load of food if you can dry it first. On the return trip the bird is heavier and the glide is shorter, which is exactly when players drop into the pond a few metres from shore.
The pond is also where fish are, so you will spend time over water regardless. Treat the waterline as a workplace rather than an obstacle: approach it from above, take the fish on the way past, and climb away from the surface rather than turning along it.
Height management: the skill nobody talks about
Every flight is a budget of height. Climbing costs it, gliding spends it, and landing needs a reserve. The players who look competent in Broodwing are not faster than you; they simply arrive with height left over because they climbed early instead of late.
A simple rule for the whole map: never start a crossing lower than the tallest thing between you and the destination. If a tree line is in the way, climb above it before you commit. If you cannot see over the obstacle, you are already too low.
Camera and sensitivity
Because the camera sets your flight line, camera settings matter more than any other option. A high sensitivity makes small corrections easy and long glides jittery; a low sensitivity makes long lines smooth and close landings clumsy. Somewhere in the middle works for most players, and the controls page covers how to test a setting in under a minute rather than in a fight.
If the valley stutters when you turn, drop the graphics quality before you drop the render distance. Frame drops during a landing are what turn a clean approach into a fall, and the game is stylised enough that lower settings still read clearly.
A practice route that teaches all of it
- Launch from your nest and glide to the nearest open grass. Land on the flat, not in a tree.
- From the grass, climb to canopy height and cross to the water.
- Take one fish, climb away from the surface, and fly home with height to spare.
- Land on your nest from below, twice in a row, before you try a new site.
Run that loop three times and you will have practised takeoff, glide, strike, loaded return and landing - which is the entire flight model of the game. The hunting page covers what to do when you get there, and the valley map gives you the regions to run the route in.
When flight goes wrong
If you end up in the water, get to the nearest shore rather than swimming for the nest; the bird moves slowly in water and the far bank is usually closer than it looks. If you end up in dense canopy, climb vertically until you clear the leaves before choosing a direction - turning inside the canopy is how you hit a trunk at speed.
If you keep crashing on the same nest, the nest is the problem, not your flying. Move it somewhere with a clear approach; the nest building page explains which sites are actually landable.