Nest building: where a nest survives
Build above the waterline and under cover: a canopy fork hides the nest from the air, a ledge gives a clean landing, and open shoreline is the fastest site to lose to another bird.
Nest placement is the decision that keeps costing you for the rest of the session. Broodwing gives you a whole valley and no rules about where to build, which sounds like freedom and is actually a trap: the first flat, open, easy-to-reach spot you find is usually the worst one. This page is about choosing a site you can defend, land on and find again.
What a nest actually needs
A working nest needs four things, and only one of them is about the nest itself.
- A landing line. You have to be able to arrive from below and settle. A site with branches in front of it will cost you a landing every time you come home loaded.
- Cover from above. Anything flying over should not be able to see the nest directly. Canopy, an overhang or a ledge all work.
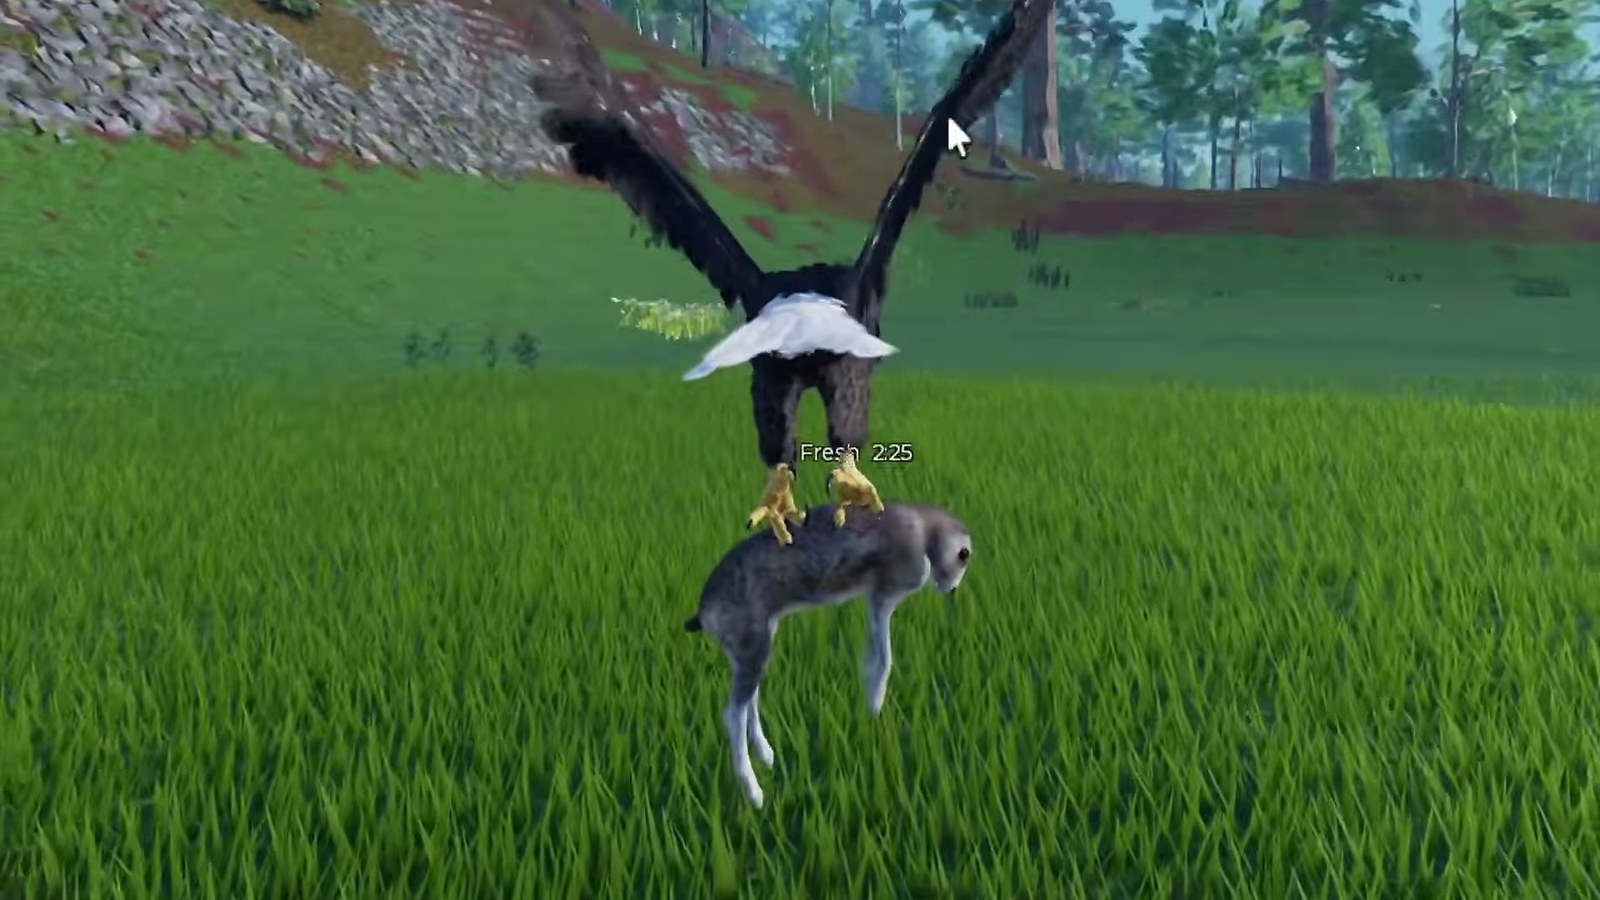
- Distance to food. The pond is the food source; a nest more than a short glide from water turns every meal into an expedition.
- A way to leave in a hurry. If the only exit is the way you came in, a predator sitting on that line has you.
The four sites, compared
| Site | Cover | Landing | Distance to fish | Best for |
|---|---|---|---|---|
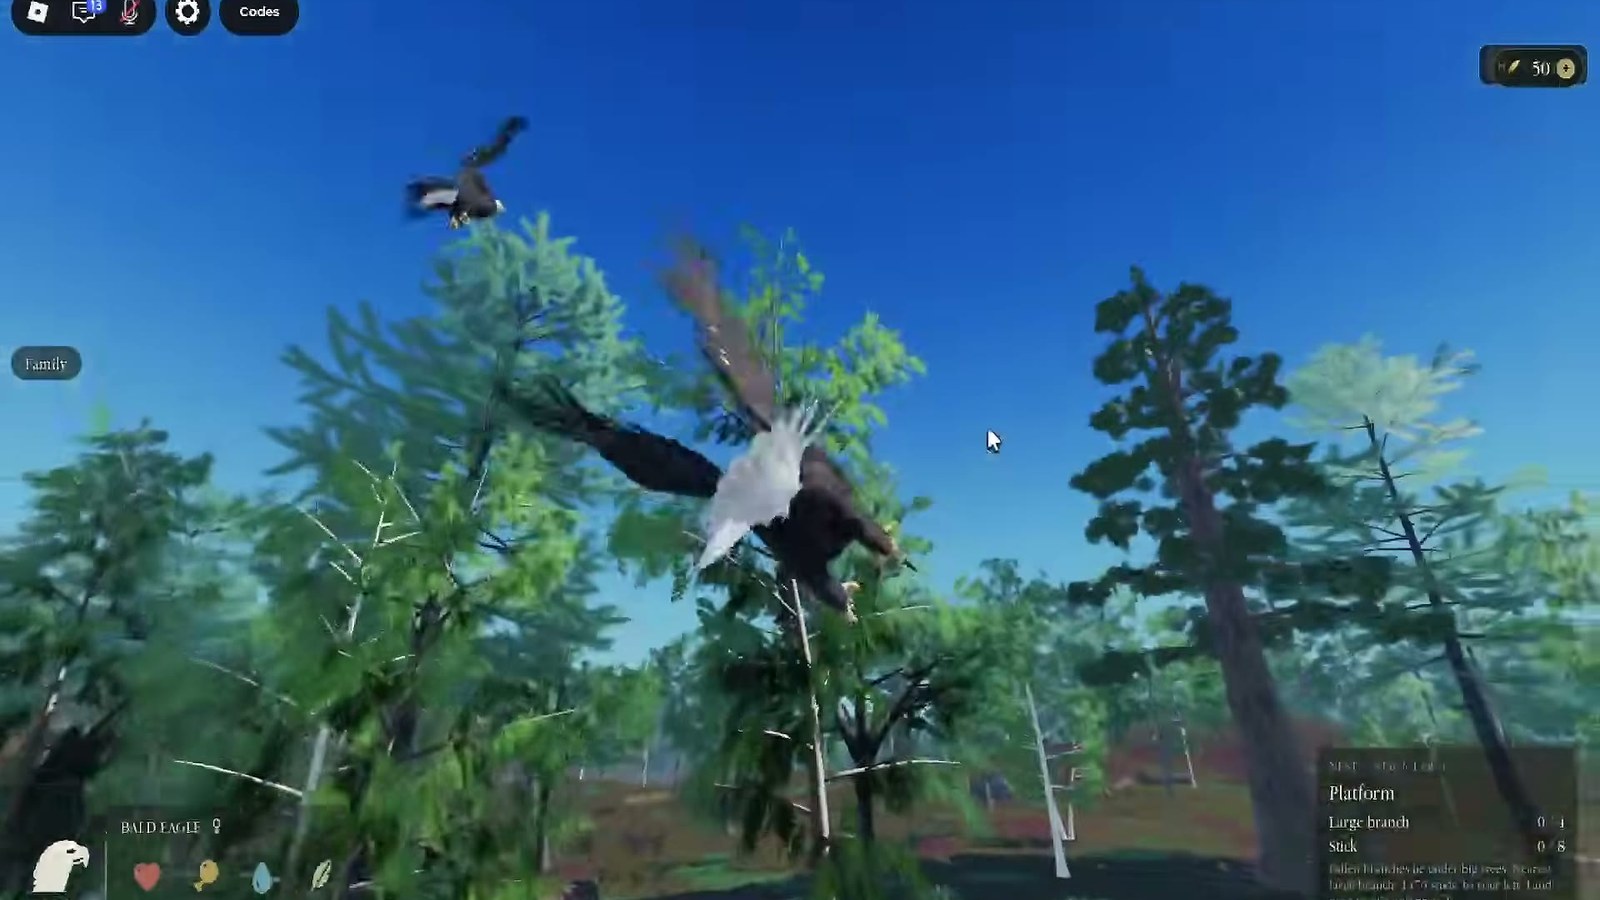
| Canopy fork | High: hidden from above | Hard: tight approach, easy to miss | Medium | Players who stay put and raise chicks |
| Cliff or rock ledge | Low from above, high from the side | Easy: wide, open approach | Medium to long | Players who want to watch the valley |
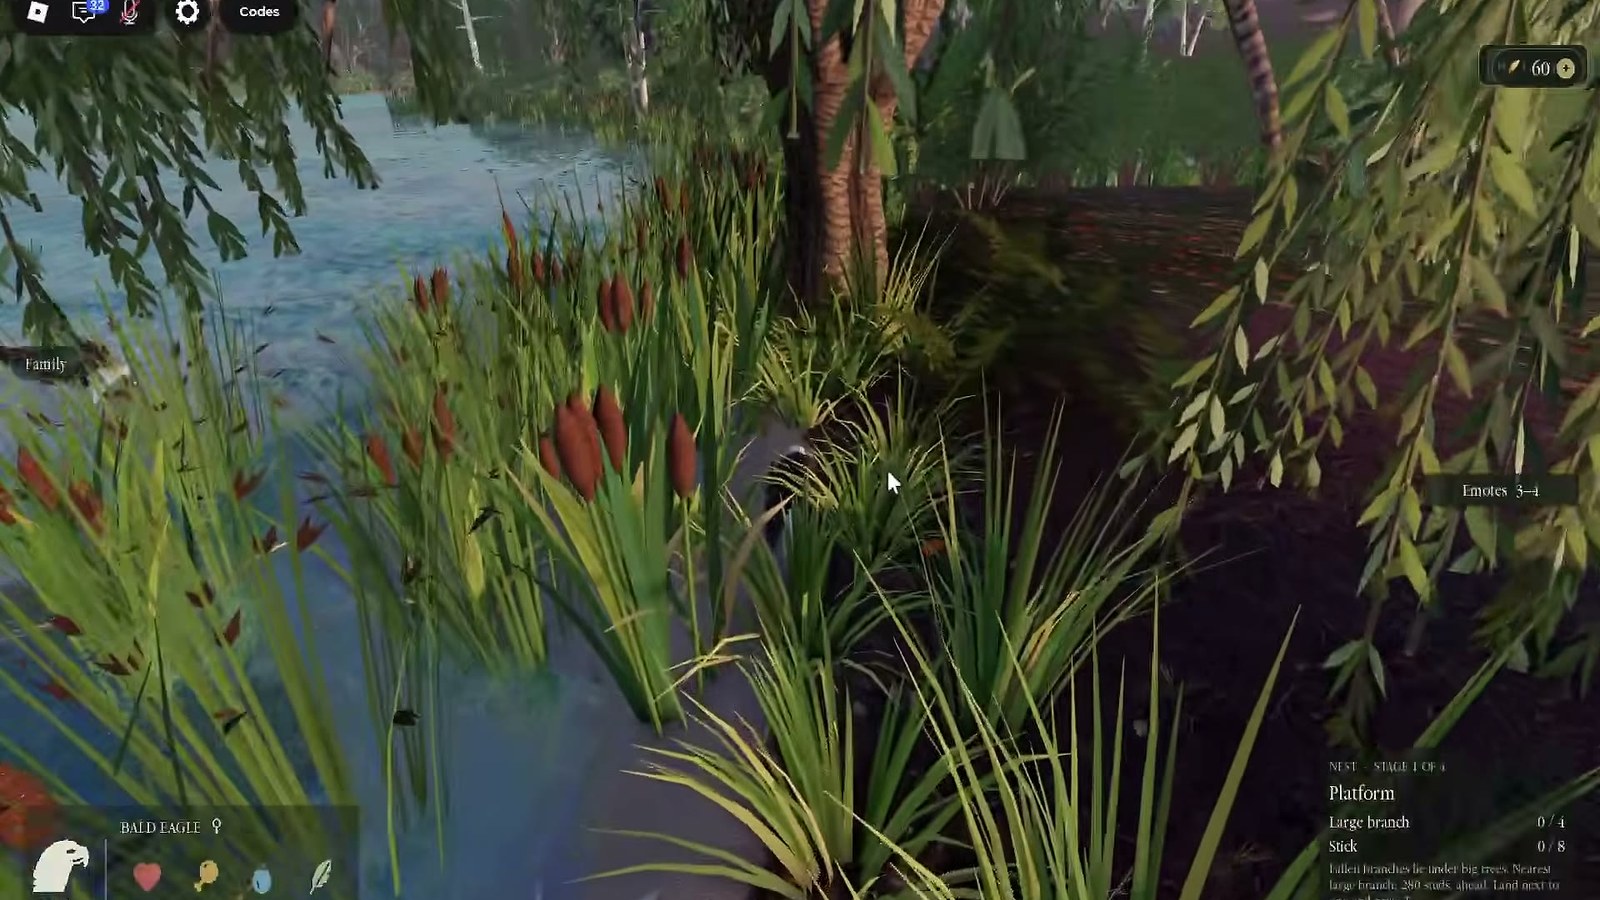
| Waterline reeds | Low | Medium: flat but exposed | Very short | Fast hunting cycles |
| Open grass slope | None | Easy | Long | Temporary nests and first attempts |
The pattern in that table is the whole design lesson: cover and landing pull in opposite directions. The canopy site that hides your chicks is the site you will crash into at dusk. The ledge you can land on blind is visible to every bird in the valley.
Picking a canopy site
If you want the hidden nest, do not pick the first fork you see. Fly past it, come back from the opposite direction, and check three things: can you see the nest from above, can you approach from below without clipping a branch, and is there a second trunk within a wing's length that you can use as a brake.
A good canopy nest has a "doorway" - a gap in the leaves on one side. If the fork is closed on all sides, you will spend more time finding the entrance than using the nest.
Picking a ledge site
The ledge is the beginner-friendly option and the one most players should use for their first clutch. It gives you a clean approach, a wide view and an easy exit. What it does not give you is privacy: anything flying past can see you sitting on it.
If you take a ledge, treat the view as the point. You can see the pond, the grass and most of the valley from a good ledge, which means you can see hunters coming. A ledge nest with a guard is safer than a hidden nest with nobody watching.
The waterline option
A nest in the reeds at the water's edge is the most efficient site in the game for pure hunting: the fish are metres away, the trip is short, and a chick can be fed within seconds of the catch. It is also the most exposed. Anything hunting along the bank will find you, and a bird that misses a strike lands in the water next to your nest.
Use the waterline when you are playing with a partner who can guard, or when you are hunting hard and do not expect to keep a clutch for long.
Marking your nest so you can find it again
The single most common nest complaint is not defence, it is navigation: players fly home and cannot find their own nest in a valley of identical trees. Fix it before you build by choosing a site with a landmark: a distinctive trunk, a rock, a bend in the shoreline, the edge where grass meets canopy.
Then learn the approach, not the location. Fly the same line three times - from the pond, from the grass, from above - so your hands know the last ten seconds of the trip. A nest you can only find from one direction is a nest you will lose the first time you come home from somewhere else.
When to move
Move the nest when any of these is true:
- You crash on landing more than once in a session. The approach is wrong, not your flying.
- You are spending more time travelling to food than hunting it.
- Another player has found the nest and keeps coming back.
- Your chicks keep falling out. The site is too high or too open.
Moving is cheap early and expensive later, because a nest with eggs or chicks is a commitment. Decide the site before the first clutch, not after.
Nests and the family
A nest belongs to the family, not the individual, in practice: whoever is guarding it is the one who keeps it. That means placement should be a group decision - the hunter wants water, the guard wants sightlines, and the chicks want height they cannot fall from.
The family page covers how to split those jobs. If you are still choosing your first site, the beginner guide walks through the first hour in order, and the valley map shows which regions actually contain the three site types.