The valley: regions and routes
Treat the valley as three bands: open grass for bunnies, canopy for cover and nest sites, and water for fish; most journeys run grass to water and back to a nest in the trees.
The Broodwing valley is one continuous map, and the useful way to learn it is not as a list of places but as three layers you move between: open grass, tree canopy and water. Every route in the game is some combination of those three, and once you can recognise which layer you are over, you always know where your next meal and your next landing are.
The three layers
| Layer | What it looks like from the air | What it gives you | What it costs you |
|---|---|---|---|
| Open grass | Pale green and tan, few verticals | Bunnies, clean landings, long sightlines | No cover, visible from everywhere |
| Forest canopy | Dark green, textured, hides the ground | Nest sites, cover, escape from above | Hard landings, no visibility below |
| Water | Flat and bright, moving edges | Fish, the best navigation landmark | A missed strike puts you in the water |
The colour difference is the navigation system. From height, the valley reads as three bands of colour, and a player who can name the band they are over is never lost.
Grass: the hunting floor
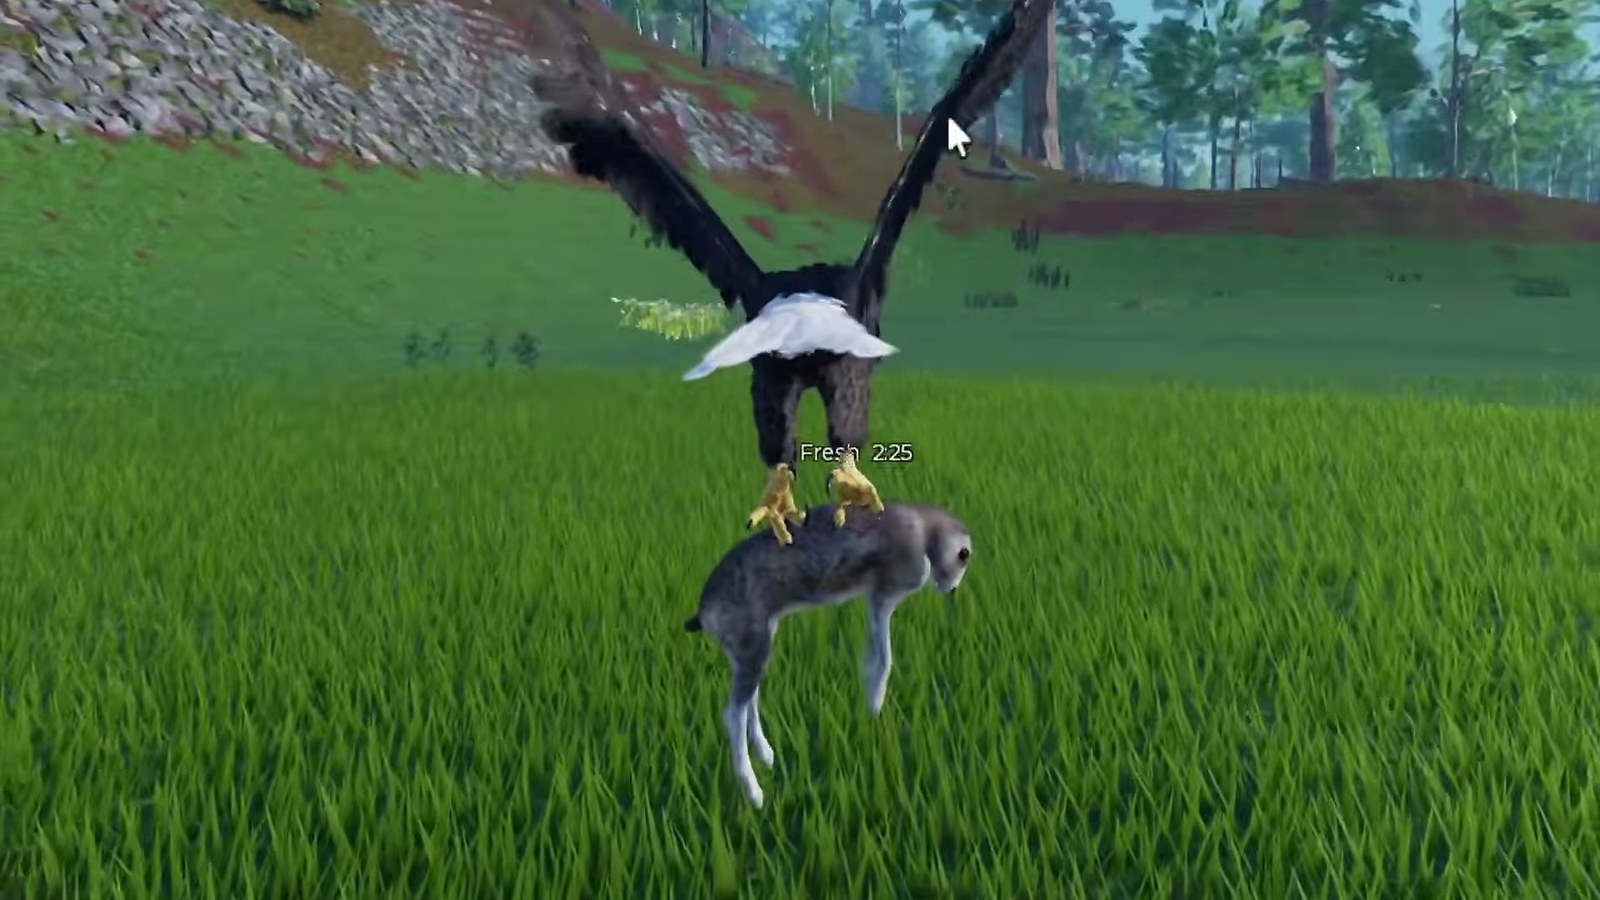
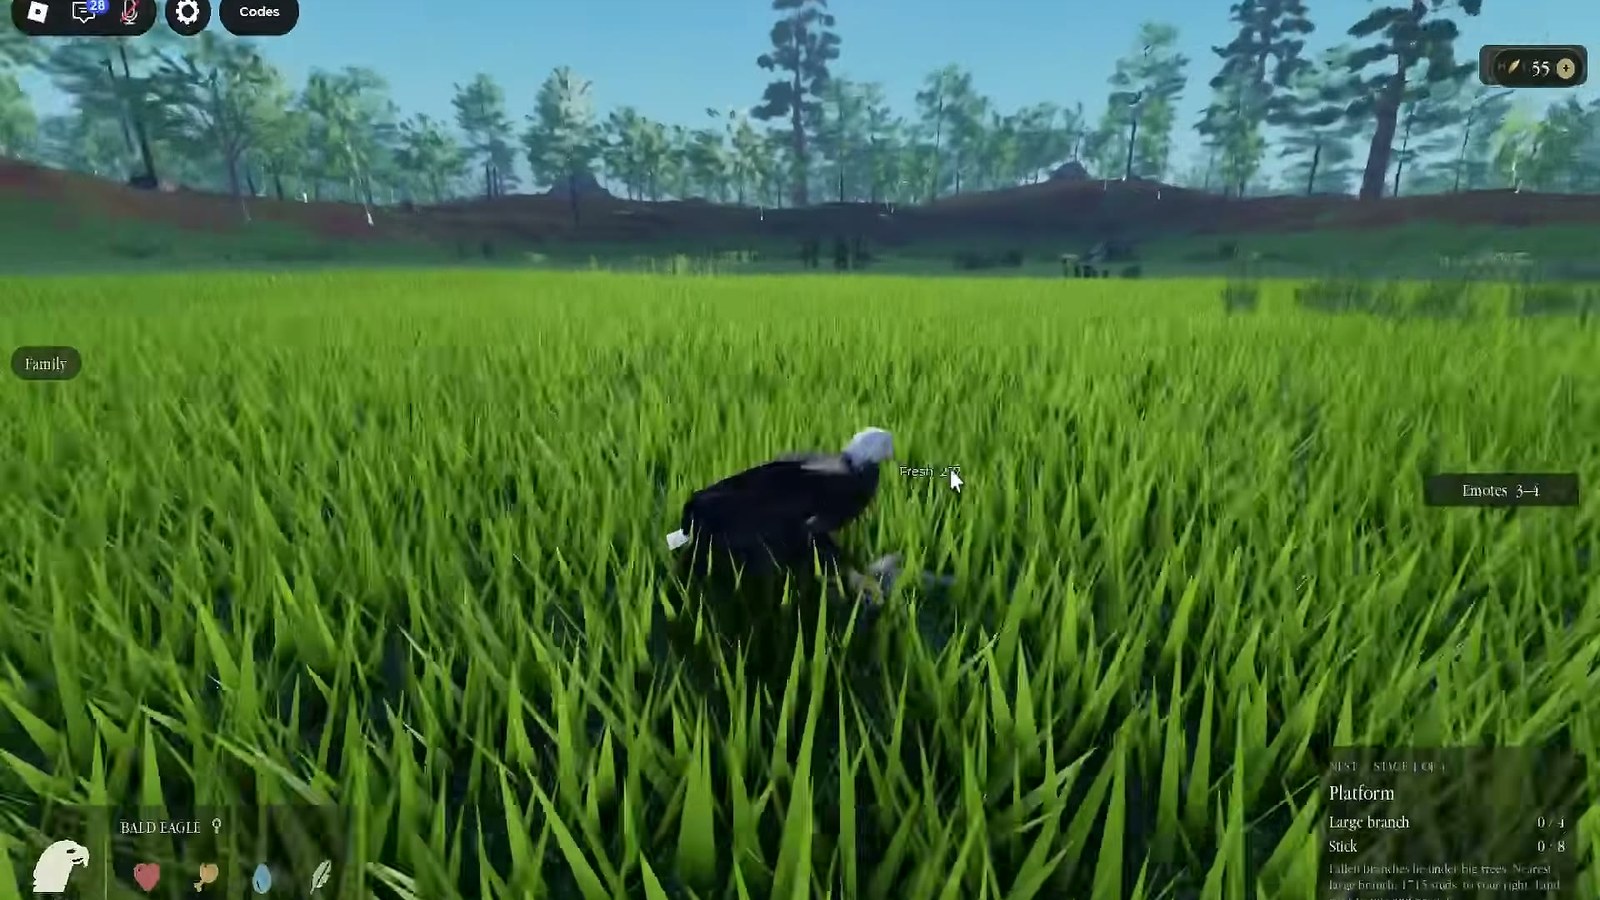
The open grass is where the map starts for most players, because it is where you land when you fall out of a nest. It is flat, it is fast to traverse on foot, and it holds the bunnies. It is also the most exposed terrain in the game: a bird on the grass is visible from the canopy, from the water and from height.
Use the grass for three things: catching bunnies with a dive, landing safely when your height budget runs out, and moving between the tree line and the water without climbing. Do not nest there.
Canopy: the vertical map
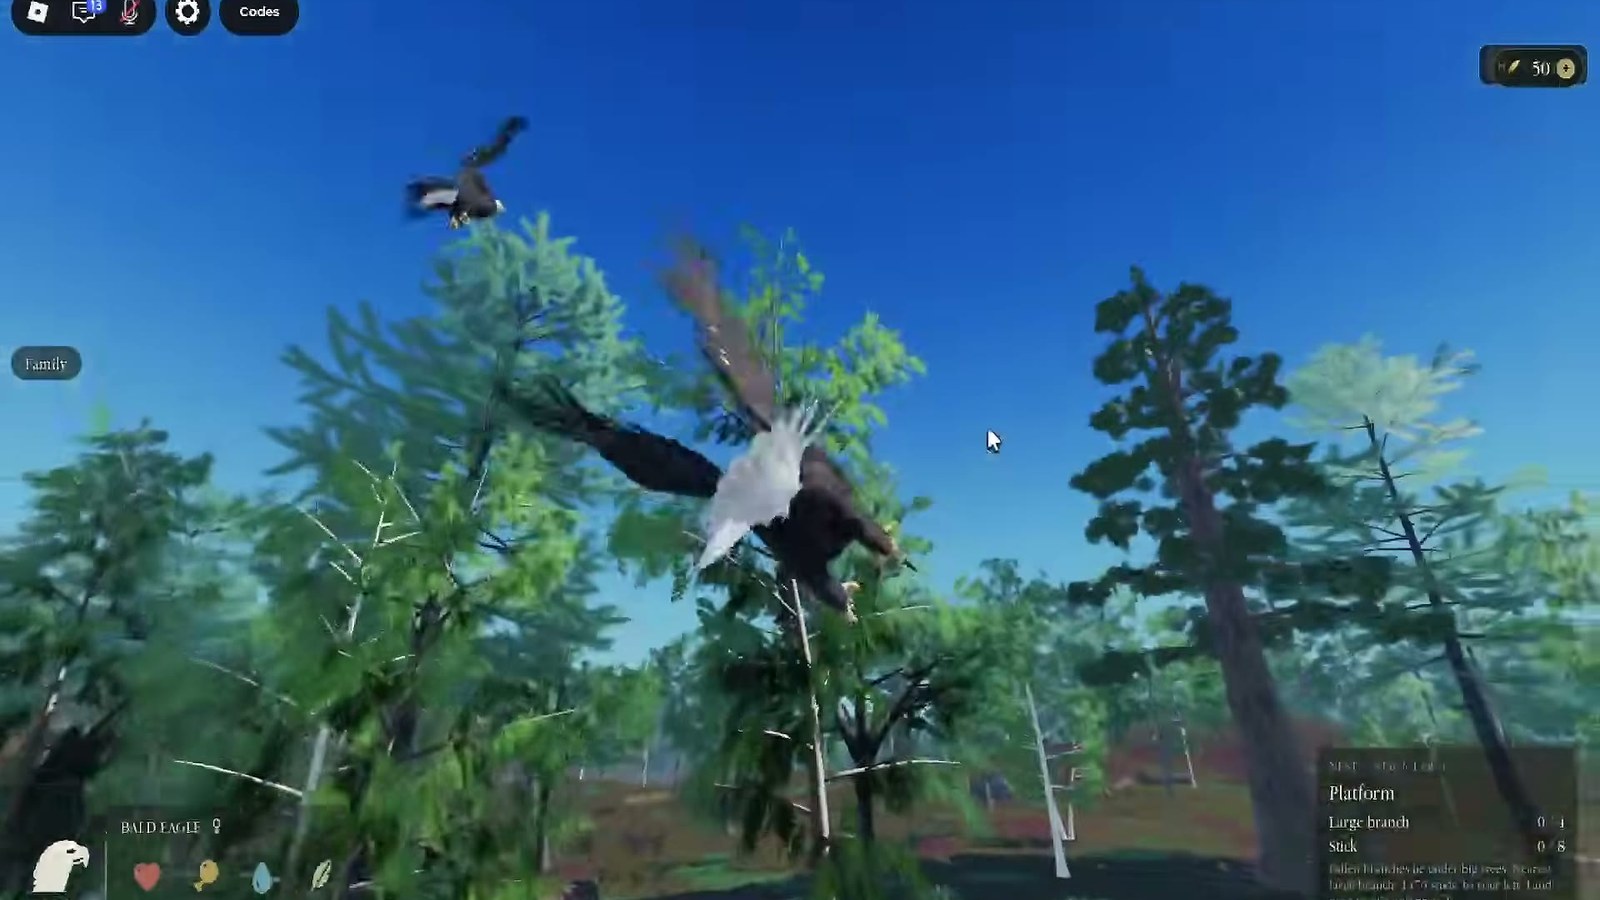
The forest is the part of the valley that has a third dimension. Inside the canopy you are flying between trunks, which is slow and dangerous; above it you are flying over a green ceiling with no idea what is underneath.
That trade is the core navigation decision in Broodwing. Fly high and you travel fast but cannot see prey or your nest; fly low and you can see everything but you hit things. The working compromise is to travel above the canopy and drop into a known gap - a clearing, a shoreline, the nest itself - rather than descending through leaves and hoping.
Canopy gaps are worth memorising. A gap is a landmark, a landing pad and an escape route at the same time, and most good nests sit beside one.
Water: the landmark and the larder
The pond is the only feature in the valley that is visible from every layer: from height it is a bright shape, from the canopy it is a gap in the green, and from the grass it is the edge everything else is measured against. That makes it the map's origin point.
If you only learn one thing about the valley, learn the direction of the water from your nest. It is the answer to "where is food", "where am I" and "which way is home" at the same time.
Routes between the layers
| Route | When you fly it | The line that works |
|---|---|---|
| Nest to water | Every hunt | Climb above the canopy, glide to the shoreline, drop to the shallows |
| Water to nest | Every return | Climb away from the surface, hold height, arrive above the nest and descend from below |
| Grass to canopy | After a ground catch | Climb into the nearest gap rather than through the leaves |
| Canopy to grass | To hunt bunnies | Drop out of a gap, strike in the open, climb back through the same gap |
| Anywhere to anywhere | Long crossings | Get above the tallest obstacle first, then glide |
The pattern in that table is one rule: climb early, descend late. Every route that fails does the opposite.
Landmarks worth knowing
The valley does not label its regions, so landmarks are personal: a distinctive trunk, a rock at the shoreline, a bend in the water, the edge where grass turns to trees. Build a set of five and you can navigate the whole map without a minimap.
Good landmarks share three properties: visible from height, reachable from your usual routes, and close to something you need. A pretty rock in the middle of nowhere is not a landmark, it is scenery.
Mapping your own session
The fastest way to learn the valley is to spend one session drawing it in your head, not exploring randomly. Do this:
- Fly from your nest to the water by the shortest line. Note two landmarks on the way.
- From the water, fly the shoreline in one direction until it turns. Note where it turns.
- From that turn, fly inland to the tree line. Note the gap you enter through.
- Fly home from the tree line without looking at your nest.
- Repeat once from the opposite direction.
Five flights and you have the shape of your corner of the valley: water, shoreline, tree line, nest. That is enough to hunt, escape and return, which is all the map you need.
What the map does not have
Broodwing's valley is a survival map, not a quest map: there are no marked dungeons, no named zones in the interface, and no collectibles pinned to locations. The game's own description promises "a huge valley" and two prey types, and that is the honest extent of the published geography.
That is why this page is a table of layers rather than a picture of a map. A drawn map with invented place names would look helpful and be useless - you cannot navigate to a name that does not exist in the game.
The valley and everything else
Once you know the layers, the rest of the site is about what to do in them: hunting and food for the prey routes, nest building for where to put a site, and how to fly for the altitude management that makes the crossings work. If you are brand new, start with the beginner guide and use this page as the reference you come back to.